Nintendo Game Boy
To follow up my son’s Atari 2600 cake for his 14th birthday, I surprised him for his 15th with a Nintendo Game Boy! Both my husband and son are avid retro game collectors and it’s so fun to make these treasures out of cake and sugar. : )
Notes from the Kitchen
This cake will be much larger than an actual Game Boy, but I still wanted to make sure it was to scale.
The screen is the only thing not edible on the cake. I designed the image in Adobe Illustrator and then my husband etched the design in a piece of neon acrylic using his CNC machine. :)
There are a few really important steps when making a cake that is meant to look like a familiar object. And COLOR is one of them! Color is so important. I spent a lot of care mixing the colors of fondant for this project.
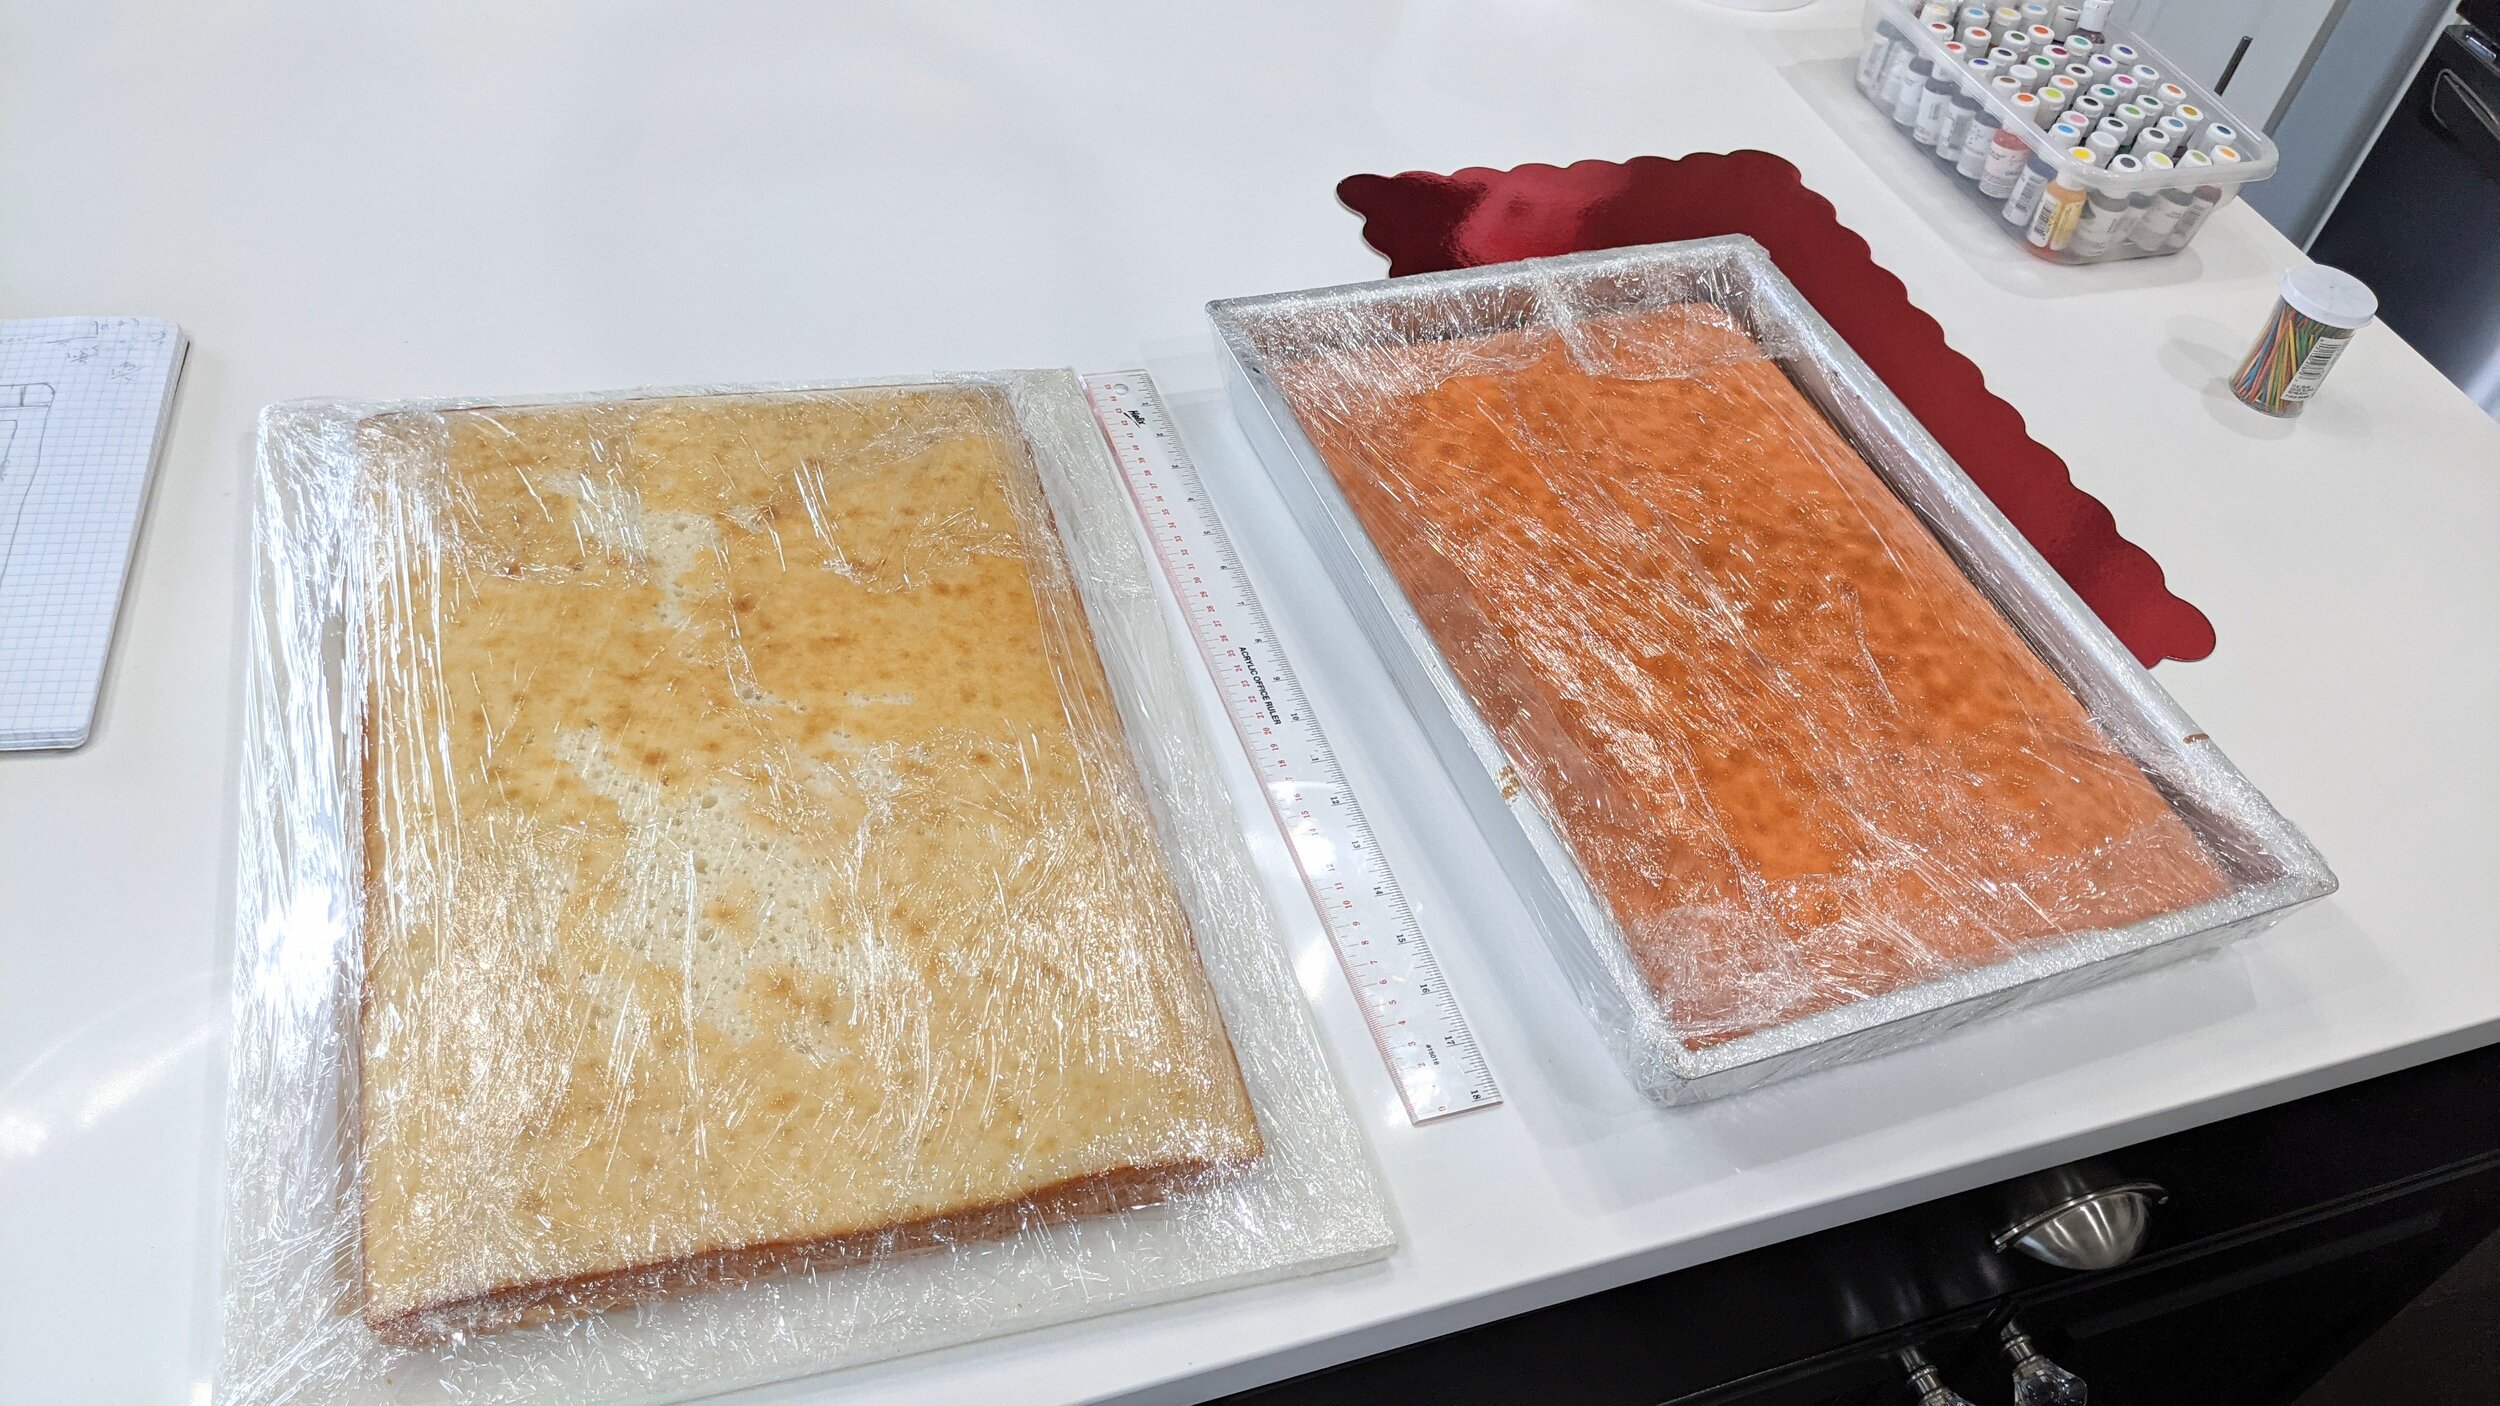
I baked two half-sheet cakes (12 x 18), one vanilla and one strawberry. Fat Daddio pans are the best!
I filled the cakes with vanilla buttercream, stacked and then trimmed the edges to be 9.5 x 15.5 in.
I then flipped the cakes onto the cake board.
I cut out shapes from index cards to use as markers once I applied fondant.
I carved the cake a bit to have rounded edges and the signature lower right corner.
I then coated the whole cake with vanilla buttercream, rolled out a large piece of grey fondant and placed it over the cake.
Using my trusty pizza cutter, I trimmed away the excess fondant around the sides.
I gently placed the index card templates on top of the fondant — I have to work fast before the fondant sets too much and this is the time to add some of the details.
I used my ball tool to press in the areas for the buttons, etc.
I cut out and added the grey area behind the screen.
And then cut out and placed the black panel that will lie directly behind the screen.
I then airbrushed the whole cake with pearl sheen, taking it from matte to awesome.
I created the buttons.
I placed the buttons and then painted them delicately with luster dust.
I placed the screen on top of the black fondant - look at how it shines!
Close-up of detail : )
Finished result
The cake on the table at the party!


