Portal Companion Cube
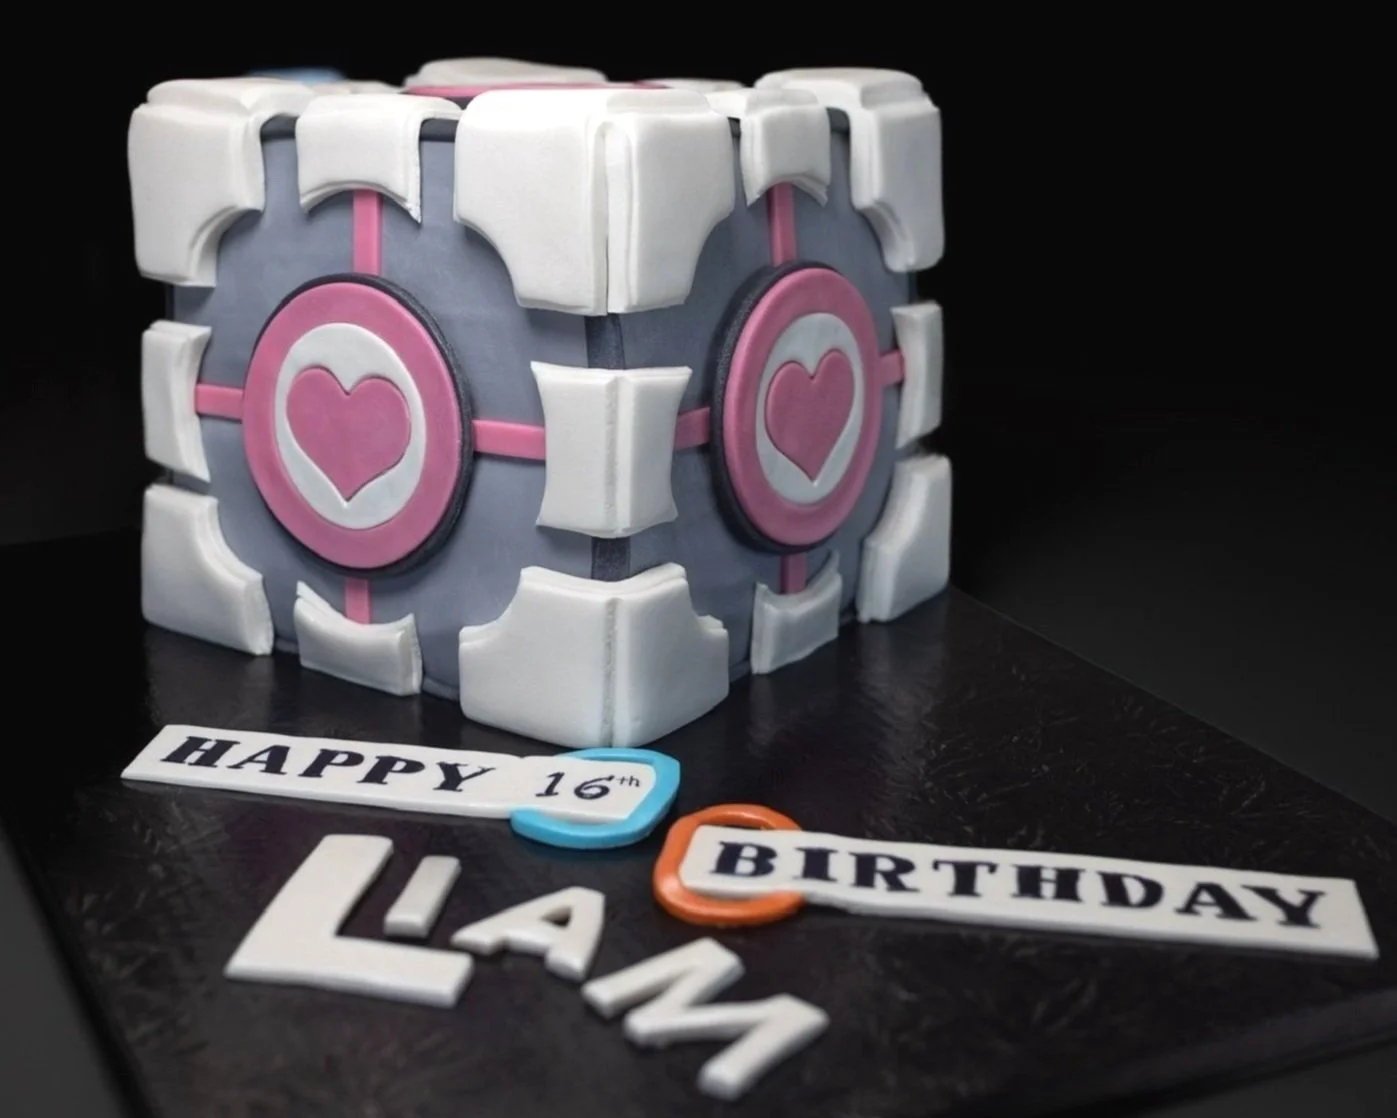
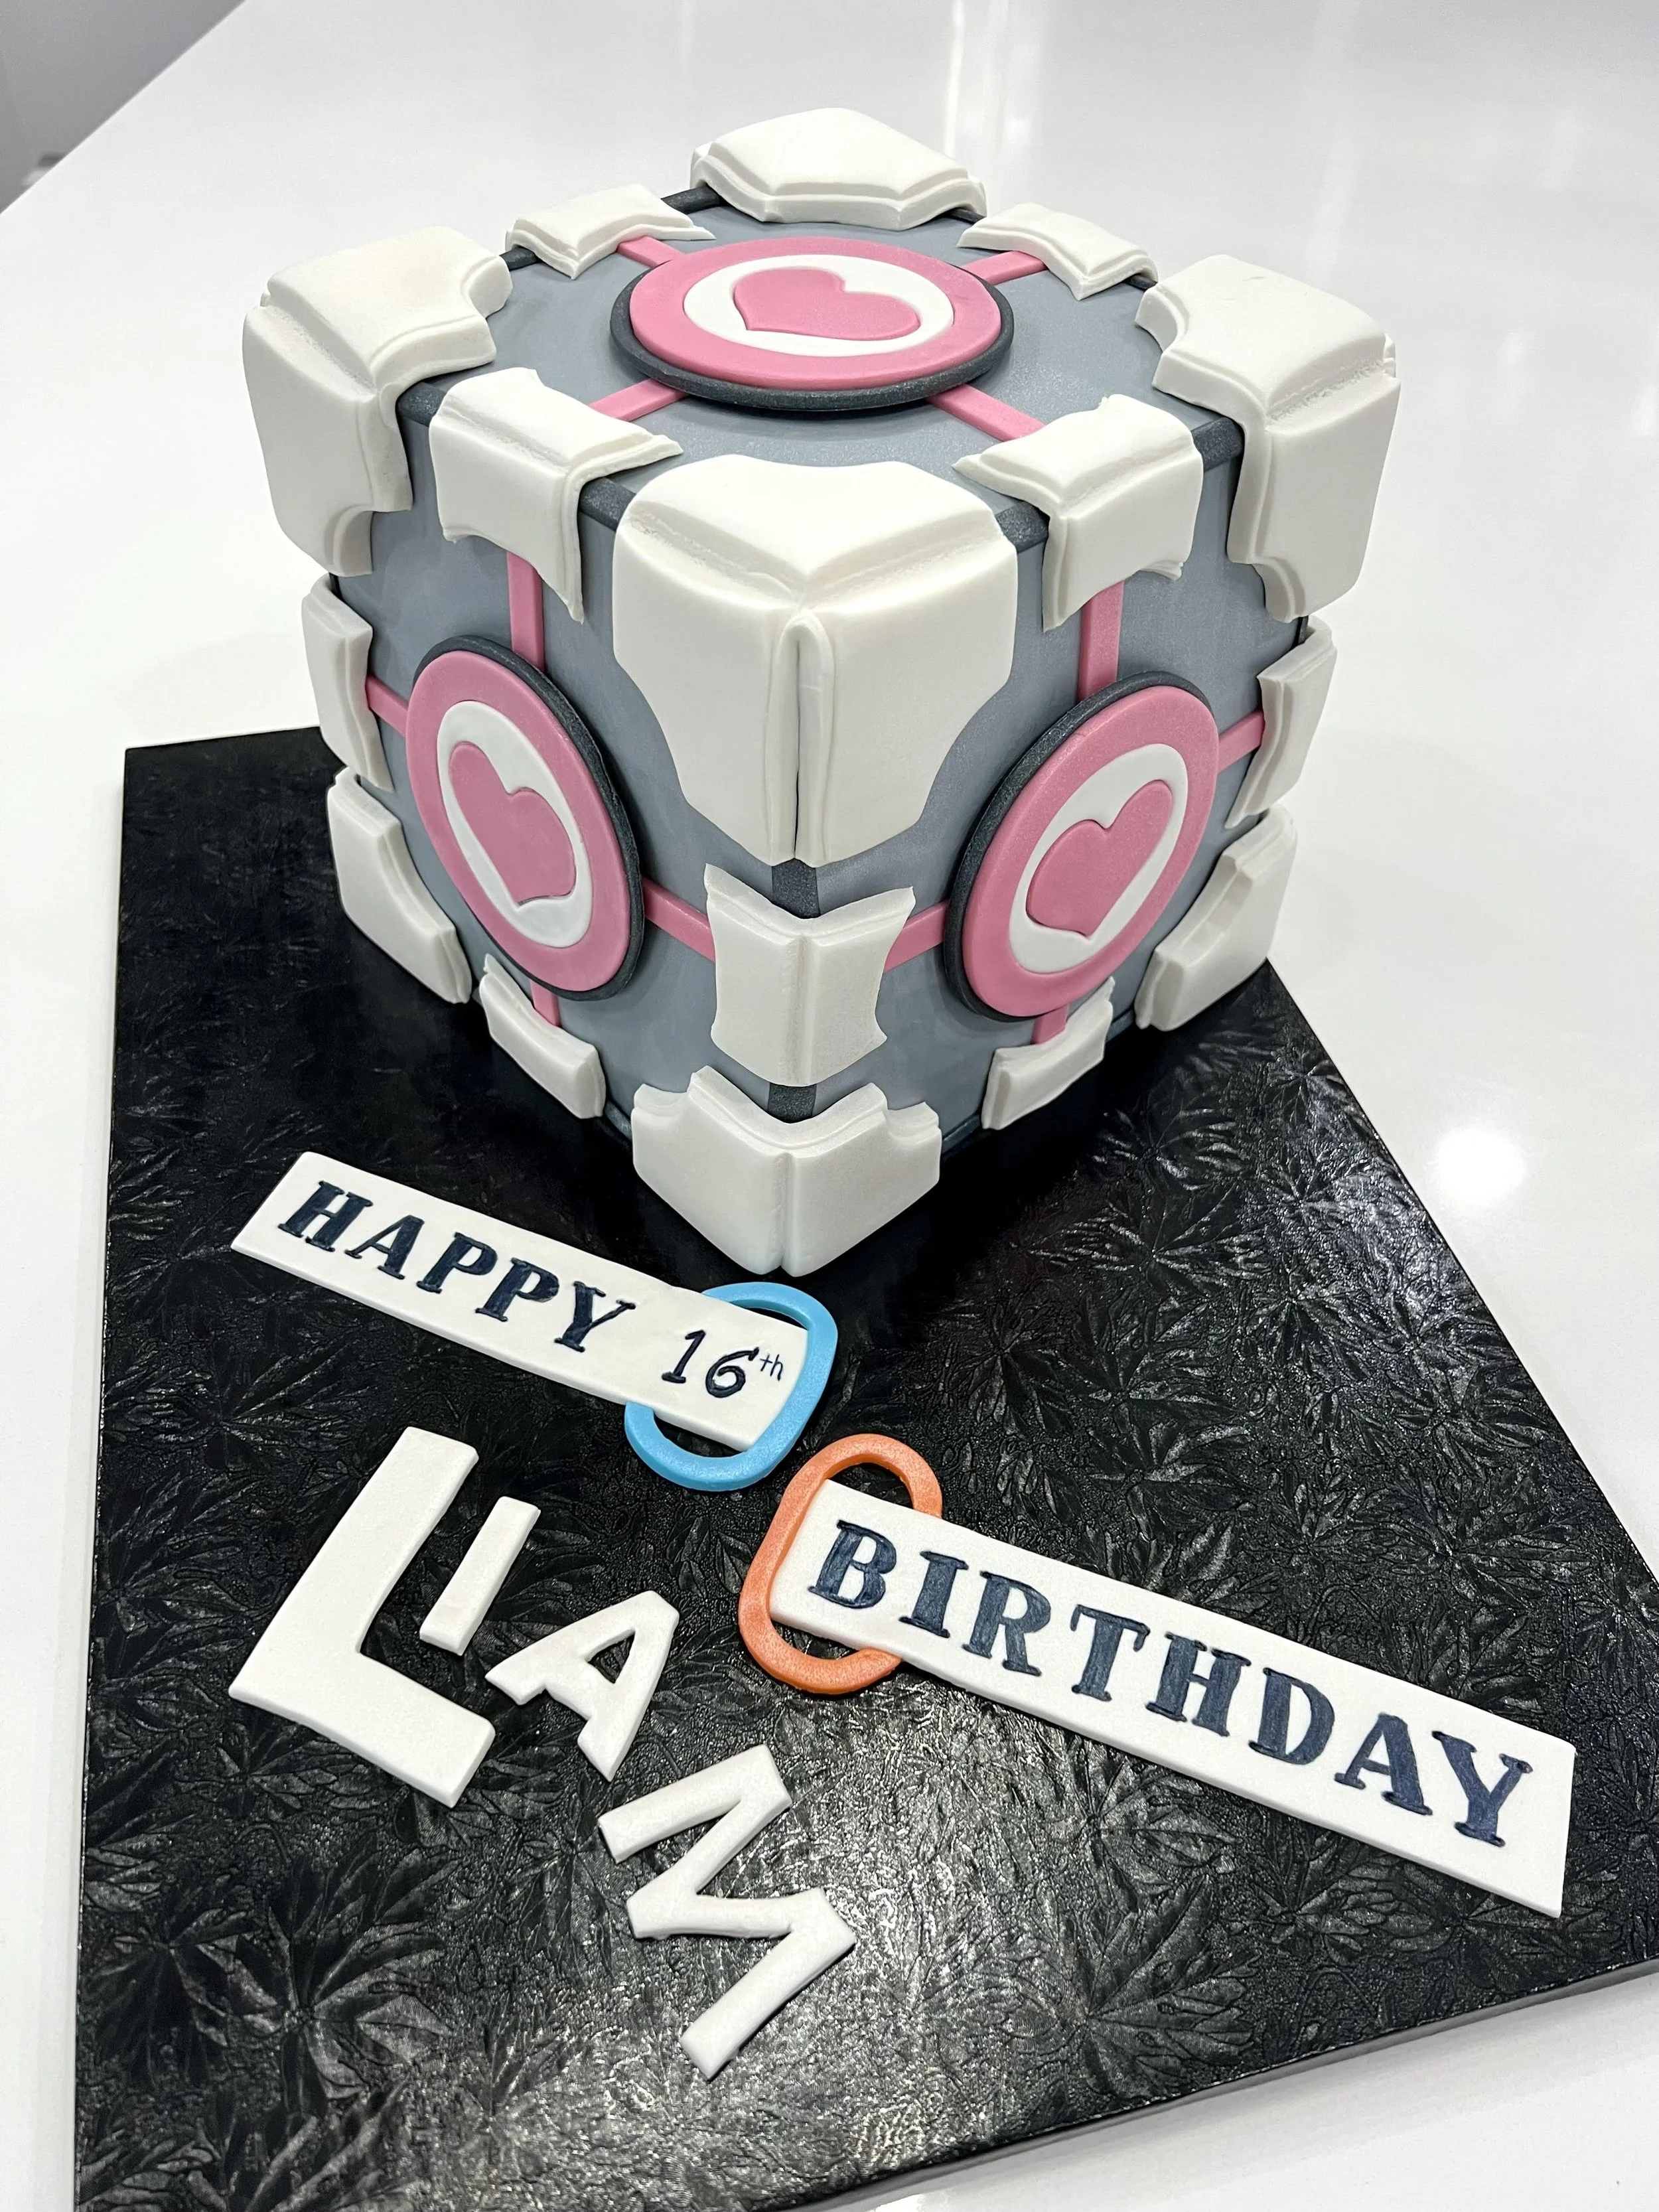
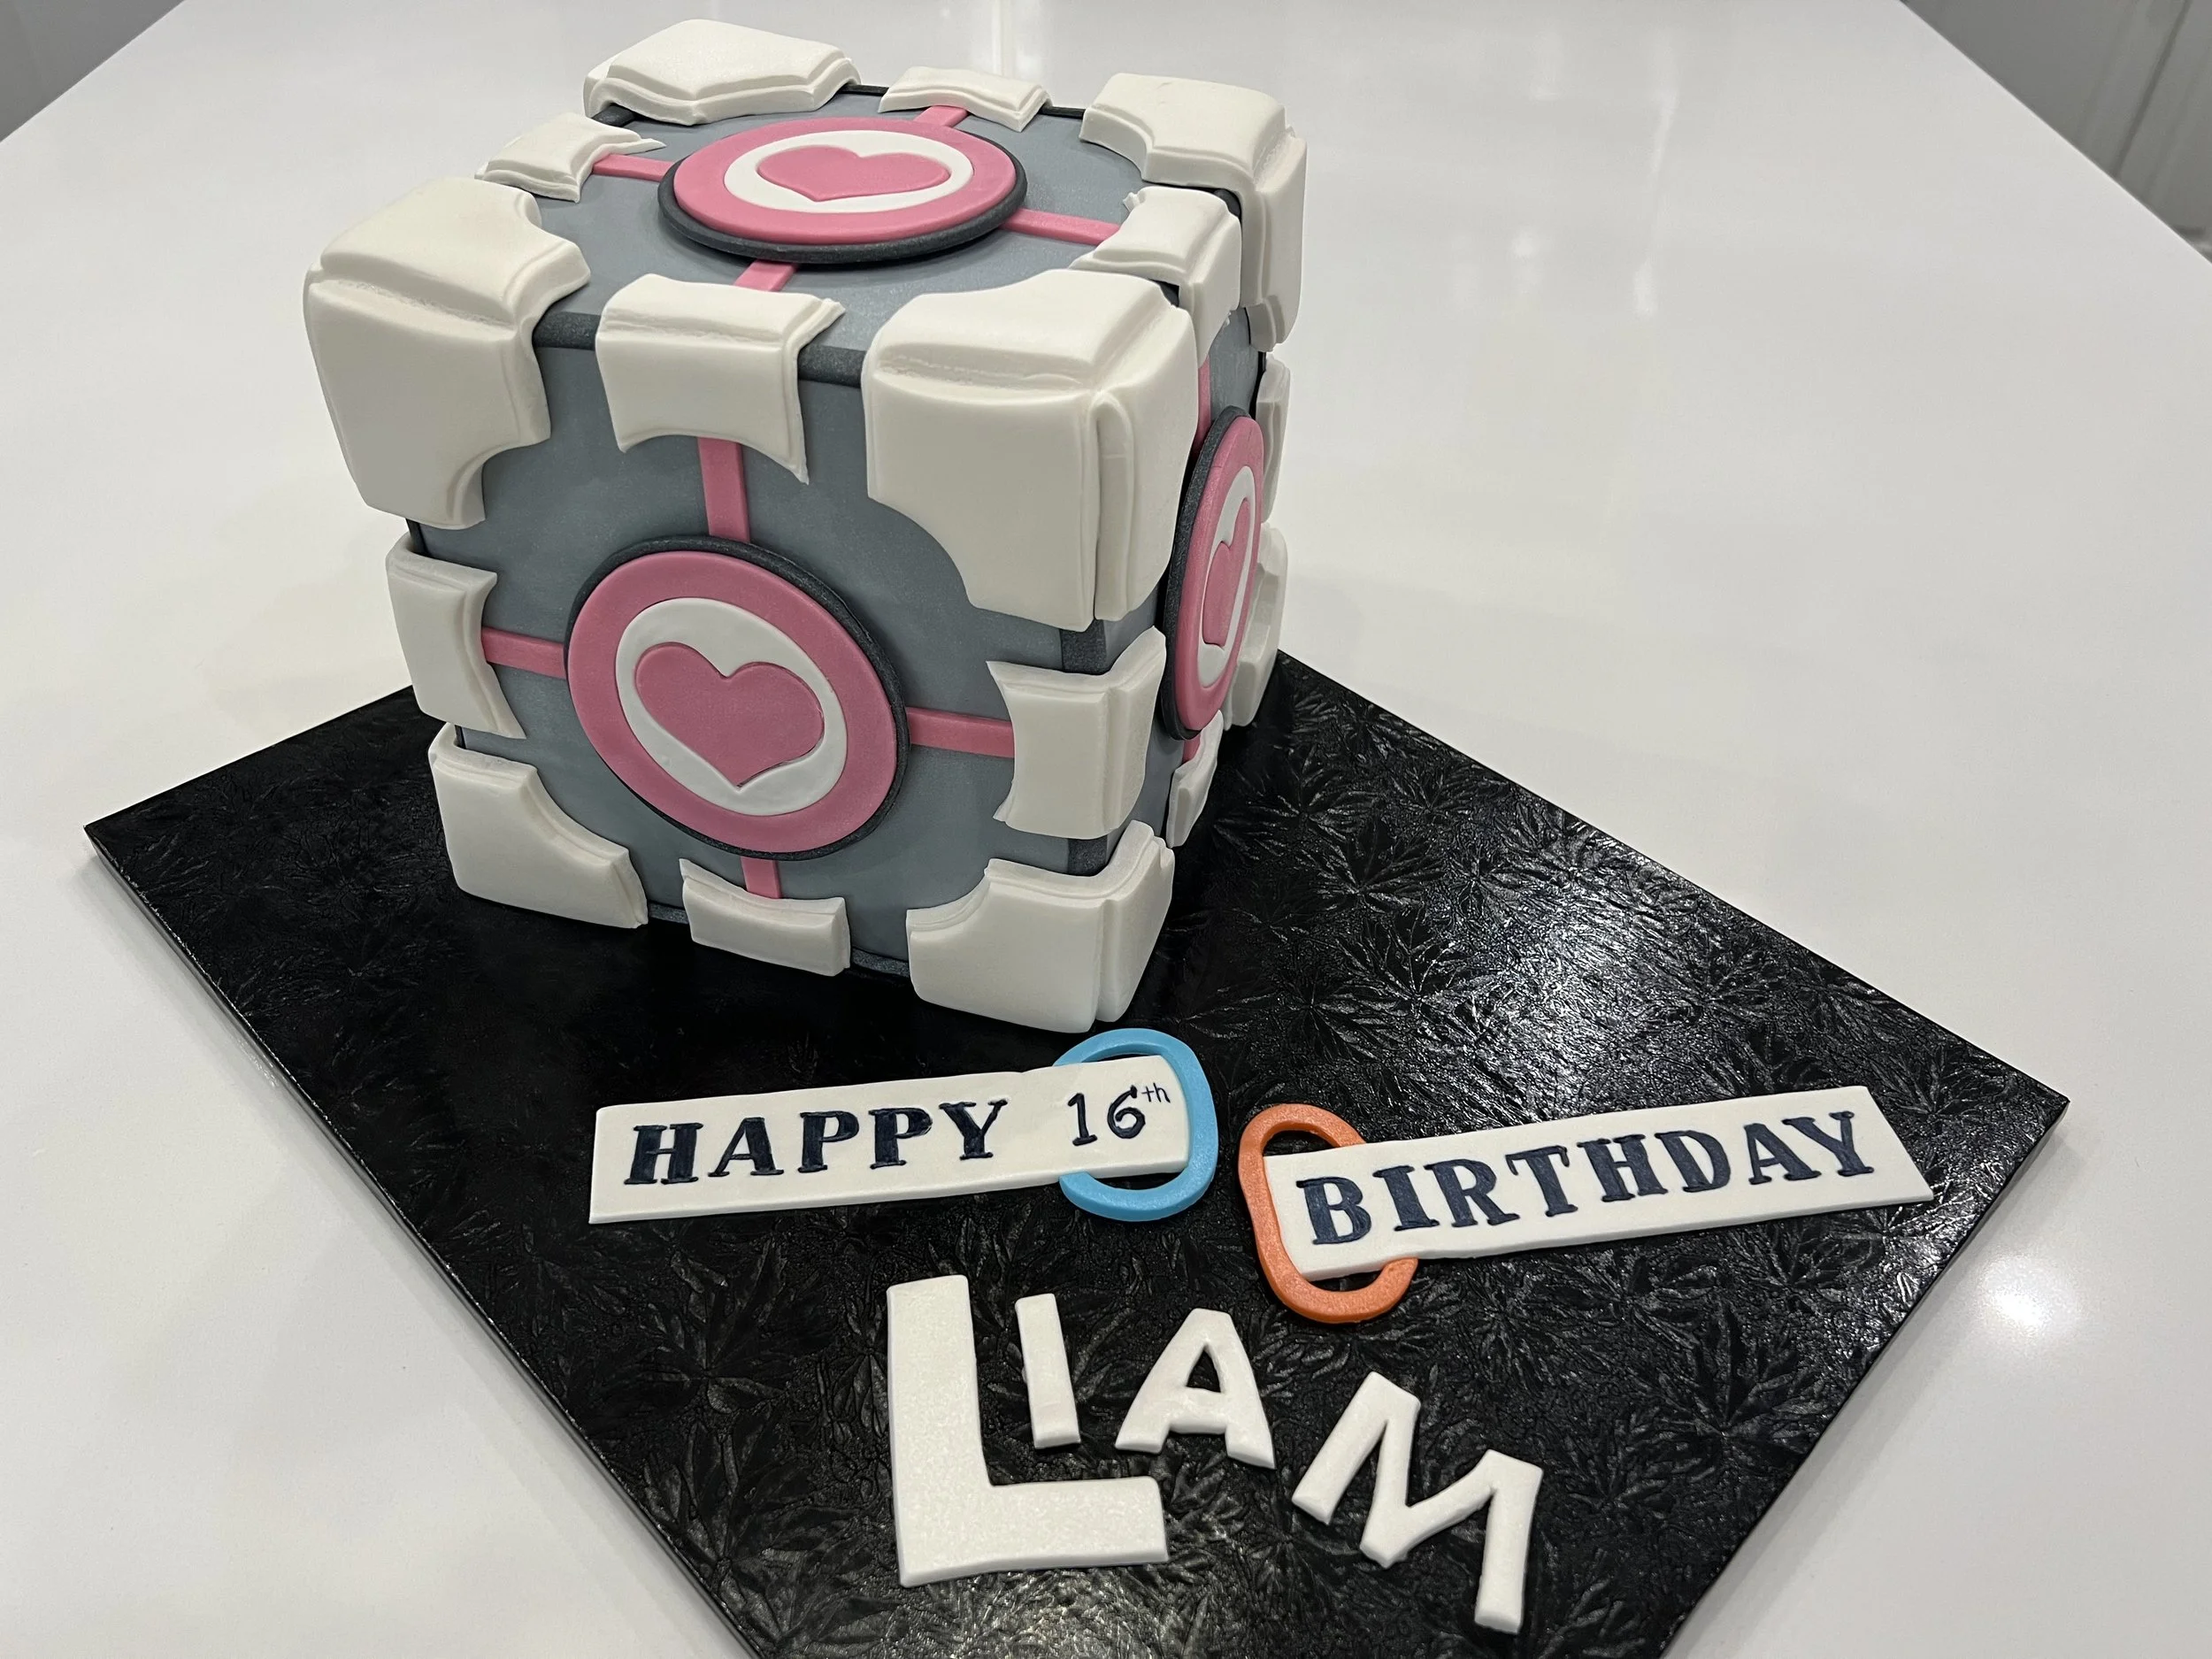
For my son’s 16th birthday, he asked for a cake of the Companion Cube from one of his very favorite video games… Portal! Only this cake is not a lie. This cube is from Portal 2, which has slight variations to the original Companion Cube. This 7” cube is alternating layers of vanilla and strawberry cakes, filled with vanilla buttercream, decorated lovingly with fondant and finished with an airbrushed sheen.
Notes from the Kitchen
After thinking through the design, the first thing I made were the side panels for the cube. This way the fondant could set for a few days before cake assembly.
Rather than add icing colors to white fondant, I mixed black and white fondant together at different ratios to achieve the two different colors of grey for this cake.
I rolled out and cut 7” squares for the 5 sides of the cube that were going to show, as well as cut and added pink strips. I use water as my ‘glue’ for fondant accents. Parchment is my friend. : )
I used 3 different cutters to achieve the encircled hearts.
Rather than adding each shape on top, I wanted them to rest at the same height so I needed to swap out parts of the design.
Voila! Companion Cube hearts.
I placed the pink & white hearts on a dark grey fondant circle.
I ‘glued’ a heart to each wall panel using water and a paint brush.
I had baked two 14” square cakes, one in vanilla, one in strawberry, which rested over night to settle.
I leveled each cake to 1” tall and cut each 14” square into four 7” squares.
I stacked 7 of the 8 cakes and filled each layer with vanilla buttercream.
I then piped and iced around the outside of the cake with a less appetizing grey, just to blend in closer to the outer panels.
Yeah, this doesn’t look awesome. But it doesn’t have to. : ) It’s going to get covered in panels. The bc is used to seal the cake, adhere fondant and add flavor.
I added the fondant panels for the 4 walls and it looks pretty cool, I think!
So, I used seven 1” cakes (rather than all 8), thinking the cake height plus vanilla buttercream filling would be enough to reach the height needed. Buuuuuut cake is heavy and it settled. To compensate, I used a layer of wafer cookies.
Boom! I added the top panel.
It is devilishly hard to get perfect corners in cake. I got close, but cake isn’t perfect. Luckily the cube I’m replicating has dark edging, a perfect way to hide the edges and to carry through the dark grey behind the heart circles.
I thought long and hard about how to do the signature corners on this cube! I ended up designing a shape in Adobe Illustrator that my husband printed with our 3d printer. It made the perfect impression for me to cut out shapes.
Here’s a corner with the excess cut away. I also made small half-deep cuts down the 90 degree sides within the piece to help it fold around the corners.
Corners made and folded around the cube! Holy cow that turned out better than expected!
Same process. I used the other shape we printed to cut out the side pieces.
Boom! All the corner and side elements added! I’m so stoked with how this is shaping up.
I cut out text elements for the cake and added some Portal flair to the Happy Birthday banner. lol
I then airbrushed everything with pearl sheen! This gives it a little depth — much better than matte fondant.
I added the text elements to the board and the cake is all done!
My son and his friends loved the cake! The fondant was a bit thick to cut through but you could see the layers and it tasted great. Happy Birthday, Liam!


